Essential Nail Art Tools and Supplies
Having the right tools and supplies is crucial for creating beautiful nail art. I’ll break down the essentials and optional tools for crafting both simple and advanced designs.
Basic Tools for Beginners
Beginners can start with a few primary tools and supplies:
- Nail Polish: Basic and essential. Include a base coat, a top coat, and a few colors for creating designs.
- Nail Files and Buffers: For proper nail preparation. Trim, shape, and smooth nails to achieve a polished canvas.
- Dotting Tools: Useful for creating dots of various sizes. These tools turn a simple dot into a stylish design element.
- Striping Tape: Ideal for straight lines and geometric shapes. Easy to use and perfect for beginners.
- Nail Art Brushes: Fine and detailed brushes allow precise lines and intricate designs.
Optional Tools for Advanced Designs
More advanced nail artists might add these tools and supplies:
- Stamping Kits: Include plates, a stamper, and a scraper. Create intricate designs by transferring patterns onto nails.
- Nail Art Stickers and Decals: Provide quick and detailed artwork. Variety in designs lets you experiment easily.
- Rhinestones and Studs: Add texture and 3D elements. Apply with nail glue or the top coat for extra flair.
- Nail Drill Machine: For cleaner and more precise cuticle work. Ideal for professional-looking results.
- Gel Polish and UV/LED Lamp: Create long-lasting designs. Curing the gel under the lamp ensures durability.
Ensuring you have these tools on hand can make the difference between a basic design and a professional-looking nail art piece.
Preparation Steps
To achieve professional-looking nail art, good preparation is essential.
Nail Cleaning and Shaping
Clean nails thoroughly with nail polish remover to get rid of any old polish or oils. This ensures proper adhesion of new products. Next, trim and file nails to the desired shape. Use a gentle file to avoid damaging the nail. Push back and trim cuticles with a cuticle pusher and nipper. This provides a clean canvas for the nail art.
Applying a Base Coat
Apply a thin layer of base coat to each nail. This creates a smooth surface and helps the polish adhere better. Additionally, base coats protect nails from staining. Allow the base coat to dry completely before moving on to the next step.
Simple Nail Art Designs

Creating simple nail art designs doesn’t require advanced skills. Even beginners can achieve stunning results using basic techniques.
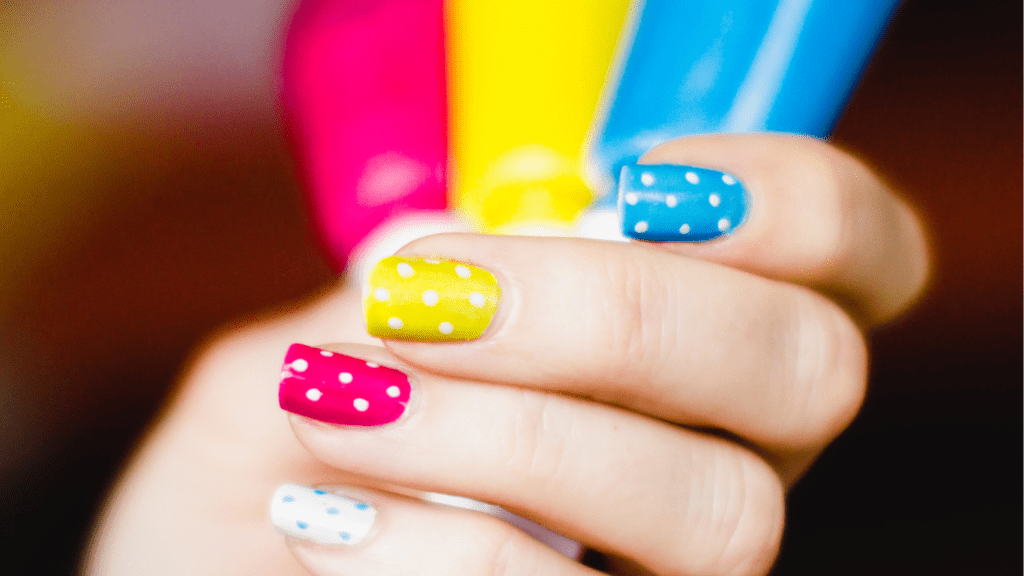
Polka Dots
Polka dots add a fun, playful touch to nails. Start by applying a base color and let it dry. Use a dotting tool or the end of a bobby pin to create dots with a contrasting polish. Dab the tool in the polish and gently touch the nail to form a dot. Repeat the process, spacing the dots evenly across the nail surface.
Stripes
Stripes create a sophisticated and clean look. Begin with a base coat and allow it to dry completely. Use striping tape to mark out the areas for the stripes. Paint over the tape with a contrasting color. Once the polish dries, carefully remove the tape to reveal sharp, clean lines. Finish with a top coat for added shine and durability.
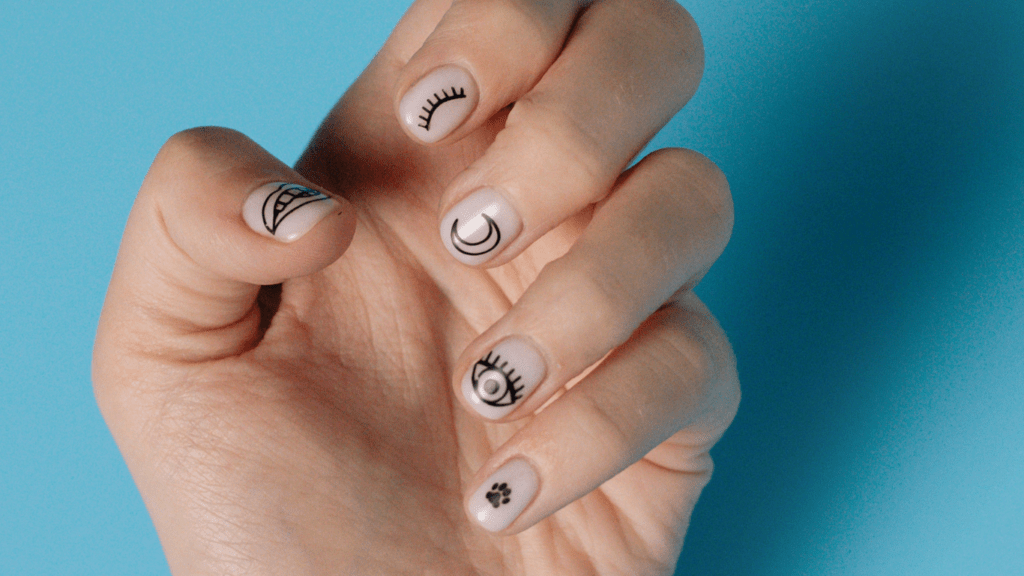
Flower Patterns
Flower patterns provide a fresh and delicate appearance. Start with a base color and let it dry. Use a thin brush or a dotting tool to create small dots in a circle to form the flower petals. Add a central dot in a contrasting color to complete the flower. For a more intricate design, create leaves or vines using a thin brush.
Gradient Nails
Gradient nails offer a smooth, blended transition between colors. Begin by applying a base color and let it dry. Choose two or more colors for the gradient. Use a makeup sponge to dab the colors onto the nail, starting with the darkest shade at the base and blending to the lightest shade toward the tip. Repeat the process until the desired effect is achieved. Seal the design with a top coat to smooth out the gradient and add shine.
Tips for Long-Lasting Nail Art
Achieving long-lasting nail art requires a few key practices. Proper sealing and avoiding mistakes ensure your designs stay vibrant.
Sealing with a Top Coat
An essential step to preserve nail art is sealing it with a top coat. This final layer protects the design from chipping. Apply the top coat once the nail art dries. Use a high-quality top coat to ensure durability. Reapply every few days to maintain the shine and protect the design.
Avoiding Common Mistakes
Avoiding common mistakes can extend the life of your nail art. One mistake is not allowing enough drying time between layers. Rushing this step causes smudging. Another is using low-quality products, which can lead to peeling. Always use high-quality nail polishes and tools. Additionally, avoid exposing nails to harsh chemicals; wear gloves when cleaning.
 Jewelldane Fultz is a skincare specialist and beauty enthusiast who has spent years studying the science behind healthy skin. Known for her expertise in formulating effective skincare routines, Jewelldane emphasizes simplicity and consistency to help people achieve long-lasting results. Her in-depth knowledge of skincare ingredients makes her a trusted source for anyone looking to enhance their natural glow.