Essential Tools Needed
Removing gel nails at home requires specific tools for a safe and effective process. Here’s a list of necessary items:
- Acetone: High-strength acetone (above 90%) ensures efficient gel polish removal.
- Cotton Balls: Soaked cotton balls in acetone keep the nails saturated for easy removal.
- Aluminum Foil: Use strips of aluminum foil to wrap around acetone-soaked cotton balls on your nails, securing the cotton in place for better absorption.
- Nail File: A coarse-grit nail file helps to break the top coat of the gel polish, making it easier for the acetone to penetrate.
- Cuticle Pusher: Metal cuticle pushers gently scrape off the gel polish after soaking.
- Nail Buffer: Buffing blocks smooth and even out the nail surface after polish removal.
Using these tools correctly minimizes nail damage and makes the removal process more efficient.
Preparing Your Workspace
Creating the right environment for gel nail removal ensures the process goes smoothly and safely.
Choosing the Right Location
Select a well-ventilated area to avoid strong acetone odors. Opt for a flat, stable surface like a table or desk to keep your tools and supplies organized. This setup helps maintain control and reduces the risk of spills or accidents. Additionally, ensure good lighting to see clearly during each step.
Gathering All Supplies
Assemble all materials before starting to avoid interruptions. Ensure you have high-strength acetone, cotton balls, aluminum foil, a nail file, a cuticle pusher, and a nail buffer within easy reach. This preparation keeps the process efficient and prevents delays. Use a tray or organizer to keep everything in one place.
Step-by-Step Gel Nail Removal

Following a step-by-step process ensures removing gel nails is both safe and effective. Here’s how to do it with minimal damage to your natural nails.
Filing the Top Layer
Begin by using a coarse nail file to gently roughen up the top layer of the gel polish. This step breaks the seal and allows the acetone to penetrate more effectively. It’s crucial to file until the shiny layer is no longer visible, but avoid filing down to the natural nail to prevent damage.
Applying the Soak
Soak cotton balls in high-strength acetone. Opt for cotton balls over pads because they ensure more acetone reaches the gel. Place one soaked cotton ball on each nail. This step sets the stage for the gel to break down for easy removal.
Wrapping Your Nails
To secure the acetone-soaked cotton balls, wrap each nail with a small piece of aluminum foil. Tighten the foil to hold the cotton ball firmly against the nail. The foil traps the heat and moisture, making the acetone work more effectively. Ensure each wrap is snug without being too tight to avoid cutting off circulation.
Waiting Period
Allow the acetone to sit on your nails for 15-20 minutes. This waiting period is essential for the acetone to break down the gel polish completely. Use this time to relax or catch up on your favorite TV show.
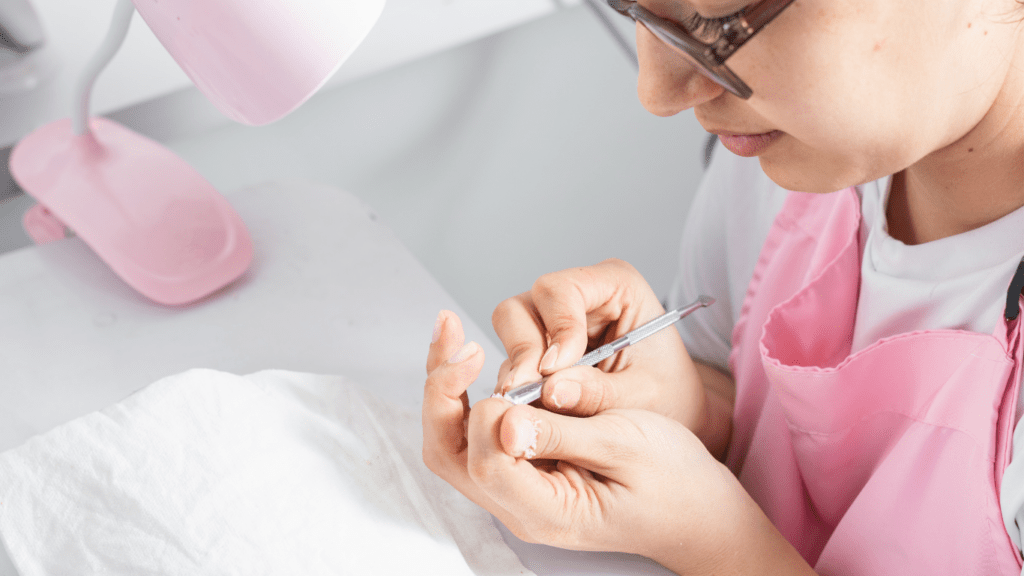
Removing the Gel
When the waiting period ends, gently press and twist the foil wraps off each nail. Use a cuticle pusher to carefully scrape off the softened gel polish. If any gel residue remains, lightly buff your nails with a nail buffer to remove it completely. Don’t force the gel off, as this might damage your natural nail.
Aftercare for Healthy Nails
After removing gel nails, focus on restoring your natural nails’ health and strength. Here’s how to keep them healthy.
Moisturizing and Nourishing
Apply cuticle oil and hand cream daily to maintain moisture. Cuticle oil, rich in vitamins and nutrients, helps in repairing damage. Hand cream locks moisture, preventing dryness and brittleness.
Consider using a nail strengthener weekly. It adds an extra layer of protection, reducing breakage and splitting. Always choose products containing nourishing ingredients like keratin and biotin.
Avoiding Common Mistakes
Avoid peeling or scraping off any remaining gel as this damages the nail surface. Instead, gently buff to smooth out rough patches.
Do not immediately apply new gel polish after removal. Give nails a few days to recover and breathe, minimizing potential damage from continuous polish application.
Refrain from using harsh chemicals or excessive water exposure. Both factors can weaken your nails. When cleaning, wear gloves to protect them from detergents and water-induced brittleness.
Tips for Keeping Nails Healthy
Maintaining nail health requires consistent care and attention. Hydrating nails regularly by applying cuticle oil is crucial. Oils like jojoba or almond oil help keep nails flexible and prevent breakage.
Using a nail strengthener aids in reducing brittleness. After removing gel polish, applying a strengthener weekly provides essential nutrients and prevents splitting.
Eating a balanced diet rich in vitamins and minerals supports nail health from within. Specific nutrients like biotin, iron, and zinc play vital roles in maintaining strong nails.
Avoid prolonged exposure to water and harsh chemicals by using gloves. Water and chemicals weaken nails, causing them to become brittle over time.
Limiting the use of acetone and alcohol-based products protects natural nails. These products strip moisture, leading to dryness and weakening the nails.
Trimming nails regularly prevents snagging and breaking. Keeping nails at a manageable length reduces the risk of damage during daily activities.
Incorporating these simple practices helps maintain healthy, strong nails after gel polish removal.
 Bonnie Brown is an expert in holistic wellness with over a decade of experience in natural health and skincare. She has dedicated her career to helping individuals achieve radiant health through plant-based solutions and mindful self-care practices. Bonnie is passionate about blending ancient traditions with modern wellness techniques, making her insights a valuable resource for anyone on a journey to healthier skin and overall well-being.