Essential Tools and Products
A few essential tools and products can significantly improve the quality of a home manicure. With these items, anyone can achieve salon-quality results.
Nail Clippers and Files
Precise nail clippers and high-quality files are necessary for shaping nails. Employ a clipper for trimming and a file for smoothing edges. Opt for a glass or crystal file for a finer finish. Regular emery boards can be too harsh.
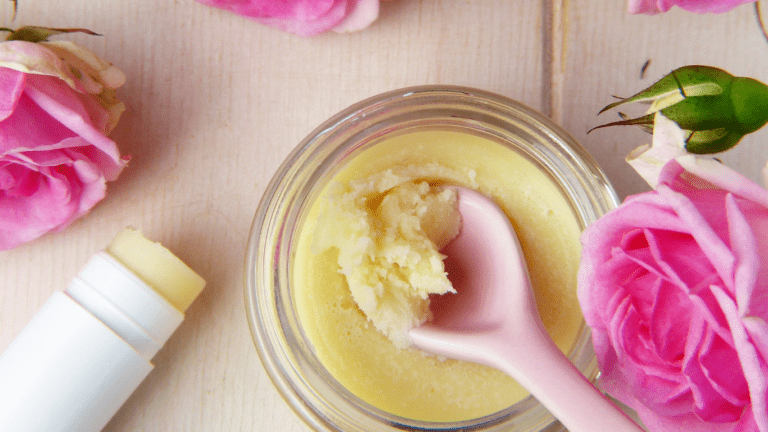
Cuticle Care
Proper cuticle care is crucial for a clean look. Use a cuticle pusher to gently push back cuticles and a cuticle nipper to remove excess skin. Applying cuticle oil hydrates and softens. Performing these steps maintains nail health.
High-Quality Nail Polish


Investing in high-quality nail polish ensures a smooth application and long-lasting color. Select polishes with good pigmentation and consistency. Brands like OPI, Essie, and Zoya offer excellent options. This choice prevents streaks and chipping.
Top Coat and Base Coat
Using a top coat and base coat is vital. A base coat protects nails and helps polish adhere better. A top coat adds shine and extends the life of the manicure. Fast-drying options from brands like Seche Vite can save time without compromising quality.
Having these essential tools and products forms the foundation for a professional-looking manicure at home.
Preparing Your Nails
Preparing nails is crucial to achieving a salon-quality manicure at home. Proper preparation ensures a smooth, long-lasting finish.
Cleaning And Shaping
Start by removing any old polish with a non-acetone remover. This type of remover is gentle on nails and less drying compared to acetone-based products. After removing the polish, wash your hands with soap and water to eliminate excess oils and residue.
Next, use nail clippers to trim nails to the desired length. Ensure the nails are cut straight across to prevent ingrown nails. Once trimmed, file the edges to smooth out any rough spots, using a fine-grit nail file. Always file in one direction to avoid splitting the nails.
Soaking And Pushing Cuticles

Fill a bowl with warm water and add a few drops of liquid soap. Soak your fingers for around 5 minutes to soften the cuticles and skin. This step makes it easier to push back the cuticles and helps clean under the nails.
After soaking, dry your hands thoroughly. Use a cuticle pusher to gently push back the cuticles. Avoid cutting the cuticles as they protect the nails from infections. If necessary, use a cuticle remover cream to dissolve stubborn cuticles and wipe away with a cotton pad.
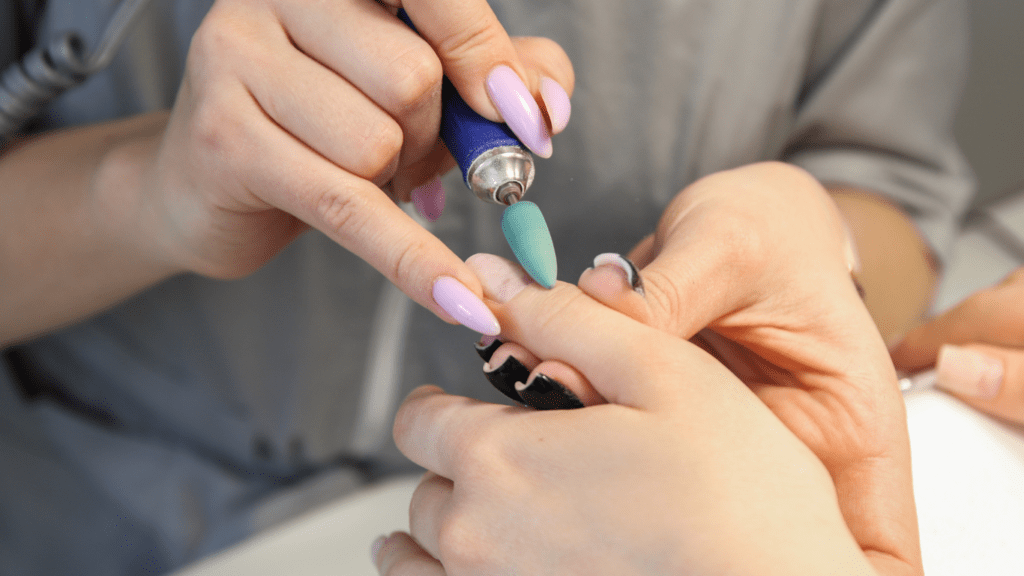
Buffing The Nail Surface
Buffing the surface of your nails is essential for an even base. Use a nail buffer with multiple grits for this step. Start with the coarser grit to smooth out ridges and finish with a finer grit to add shine.
Buff in one direction to avoid damaging the nail surface. Too much buffing can weaken nails, so limit this step to once a month.
Applying Nail Polish Like a Pro
Achieving a salon-quality manicure at home involves precise nail polish application. Focus on three main steps: using a base coat, applying color evenly, and finishing with a top coat.
Using a Base Coat
Start by applying a base coat to each nail. A base coat ensures the polish adheres better, extends the lifespan of your manicure, and prevents staining. Use a thin layer of base coat and let it dry completely before moving on.
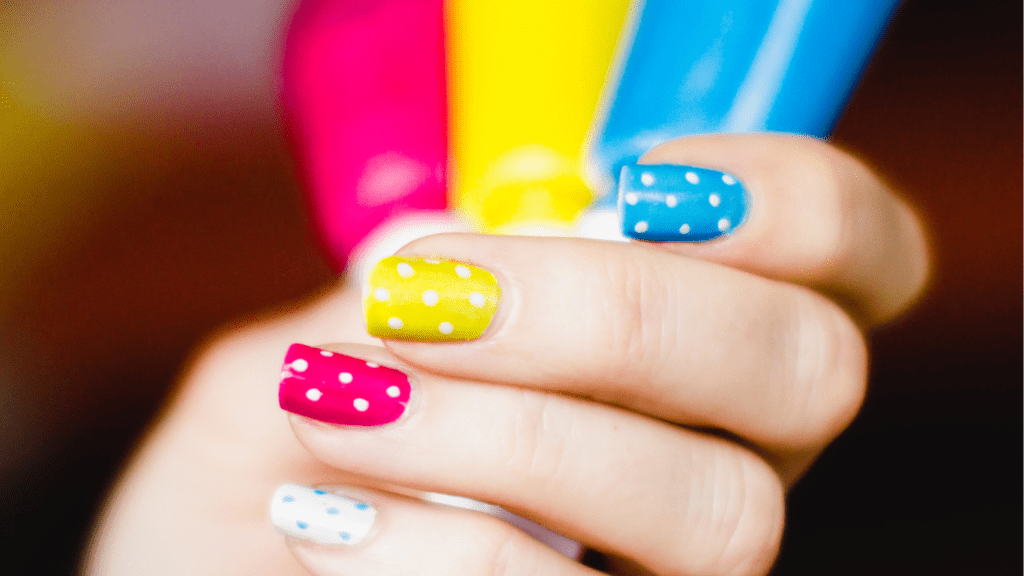
Applying Color Evenly
Apply the nail color in three strokes: one in the center, followed by one on each side. This method helps distribute the polish evenly, minimizing streaks. Use thin layers to avoid clumping and let each layer dry fully before adding the next. Repeat until you’ve achieved the desired opacity.
Finishing with a Top Coat
Seal your manicure with a top coat. This step adds shine, protects the color, and extends the wear time by preventing chipping. Apply the top coat in thin, even layers and allow it to dry completely for the best results. Consider using a quick-dry top coat if you’re short on time.
These steps ensure your at-home manicure looks polished and professional.
Tips and Tricks for Long-Lasting Results
Following these steps boosts your chances of achieving long-lasting manicure results that rival those of a professional salon.
Avoiding Common Mistakes
- Overloading the Brush: Use minimal product to avoid thick, uneven coats. Thin, even layers ensure better drying and longevity.
- Cuticle Smudges: Keep polish away from cuticles. Start slightly away from the cuticle to prevent smudges and peeling.
- Skipping Base Coat: Always use a base coat to protect your nails and extend polish life. It creates a smooth surface and prevents staining.
- Insufficient Drying Time: Allow ample time between coats to dry. Rushing leads to dents, smudges, and quick chipping.
Maintaining Your Manicure
- Proper Hydration: Hydrate your cuticles daily. Moisturizing keeps them healthy and prevents peeling.
- Wearing Gloves: Use gloves during chores. Protecting your hands from water and chemicals helps maintain polish integrity.
- Avoiding Heat: Wait several hours after application before exposing your nails to heat. Heat can soften polish, causing marks.
- Using Top Coat: Reapply top coat every few days. It maintains shine and adds protection against chips and wear.
By integrating these tips, a salon-quality, long-lasting manicure at home becomes achievable, ensuring nails look fabulous for days.
 Bonnie Brown is an expert in holistic wellness with over a decade of experience in natural health and skincare. She has dedicated her career to helping individuals achieve radiant health through plant-based solutions and mindful self-care practices. Bonnie is passionate about blending ancient traditions with modern wellness techniques, making her insights a valuable resource for anyone on a journey to healthier skin and overall well-being.