Why Try Nail Art
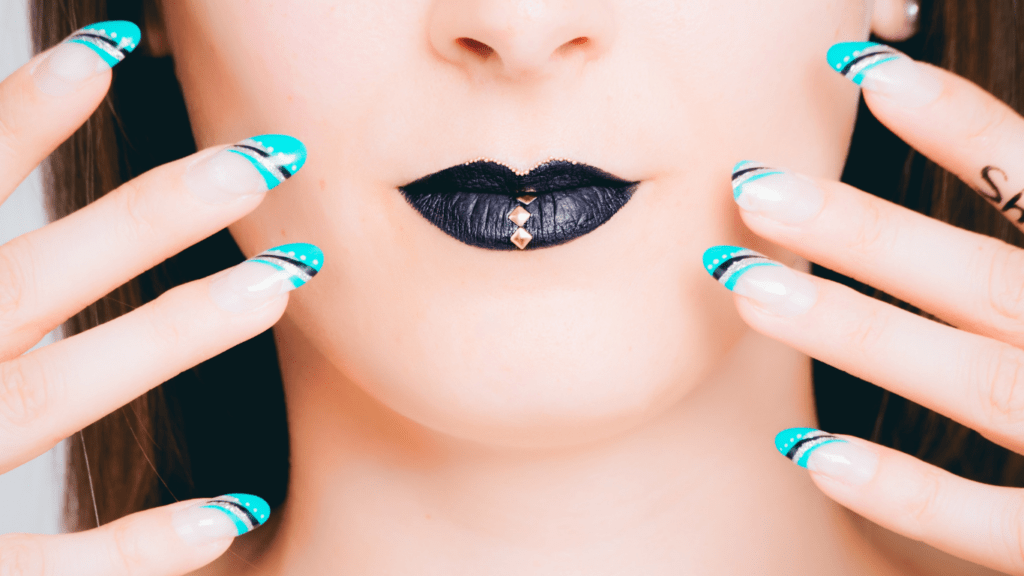
Nail art offers a fun and creative outlet for self-expression. It allows me to showcase my personality and style through intricate designs and vibrant colors. Moreover, styling my nails can boost my confidence. Well-groomed nails contribute to an overall polished look.
Engaging in nail art can also be a relaxing hobby. Painting my nails helps me unwind and focus on creating something beautiful. Additionally, it’s cost-effective. DIY nail art saves money compared to frequent salon visits. With the right tools and practice, I can achieve salon-quality results at home.
Nail art also keeps my hands busy and away from bad habits. Instead of biting nails or fidgeting, I channel my energy into designing and painting. For beginners, simple designs—like polka dots, stripes, or accent nails—are great starting points. For instance, using a toothpick to create dots or tape for stripes makes the process manageable.
Finally, social media platforms like Instagram and Pinterest offer endless inspiration. I can easily find tutorials and step-by-step guides to enhance my skills. Engaging with a community of fellow enthusiasts can also spark new ideas and foster creativity.
Essential Tools and Supplies
Starting with the right tools and supplies is key to achieving beautiful nail art. Beginners can create impressive designs with some essential items and optional enhancements.
Basic Tools
Basic tools create a foundation for any nail art kit. Here are the must-haves:
- Nail Polish: A few basic colors (white, black, nude) form a great starting palette.
- Base and Top Coat: These protect and seal your designs. The base coat prevents staining, and the top coat adds longevity.
- Nail Clippers and Files: Trim and shape nails to desired lengths and shapes. A glass file works well for smoother edges.
- Dotting Tools: These tools, with various tip sizes, are excellent for creating dots and intricate designs.
- Striping Tape: Thin adhesive tapes help in making clean lines and geometric patterns.
- Nail Art Brushes: Fine brushes allow for detailed work and precise application of polish.
- Stickers and Decals: These ready-made designs are easy to apply and add complexity without much effort.
- Stamping Kits: Stamping plates and scrapers enable transferring detailed images to nails.
- Rhinestones and Studs: These embellishments provide 3D effects, making designs pop.
- Acrylic Paints: Use these for more detailed, vibrant designs, as they offer greater control over colors.
- UV/LED Lamp: For gel polish users, curing ensures a longer-lasting, chip-resistant finish.
Simple and Quick Designs
Simple and quick designs are perfect for those new to nail art. They provide an easy way to practice and improve skills while achieving great results.
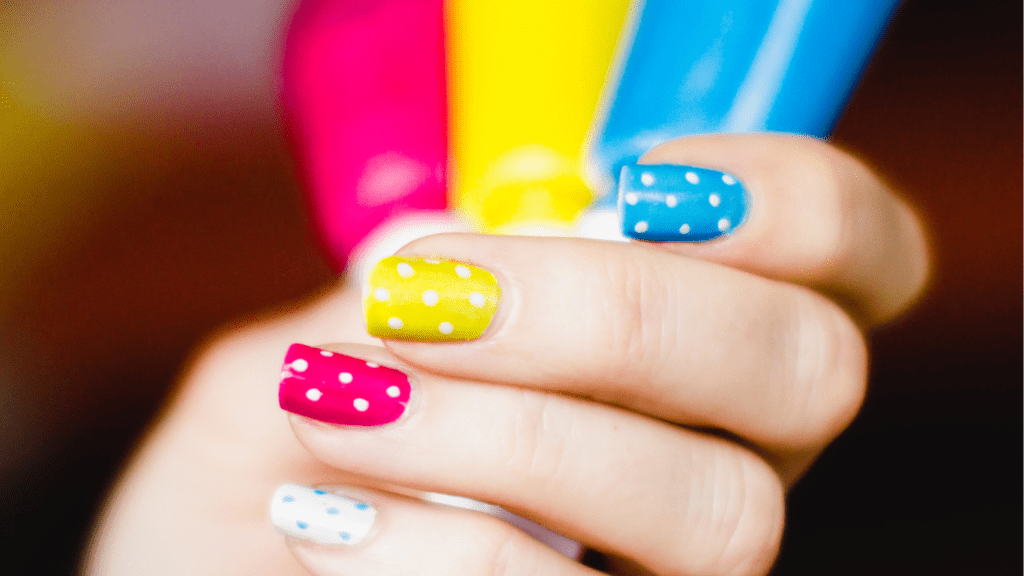
Polka Dots
Polka dot designs are easy to create using a dotting tool or a bobby pin. Start by applying a base color and letting it dry completely. Dip the dotting tool in a contrasting polish and gently press it onto the nails to form dots. Varying the size and color of dots adds interest to the design. For example, I like using white dots over a blue base or colorful dots on a nude polish.
Stripes
Stripes add a chic look to nails without much effort. Begin by painting the nails with a base coat color. Once dry, use striping tape or a thin nail art brush to paint stripes across the nails. Vertical, horizontal, or diagonal stripes all create different effects. For instance, thin black stripes over a white base create a classic look, while colorful stripes add a playful vibe.
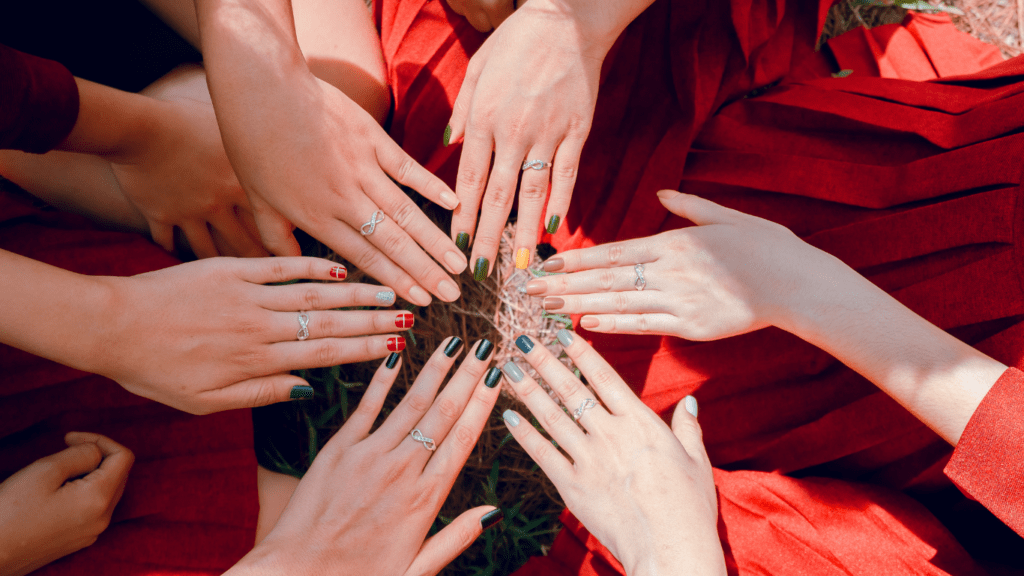
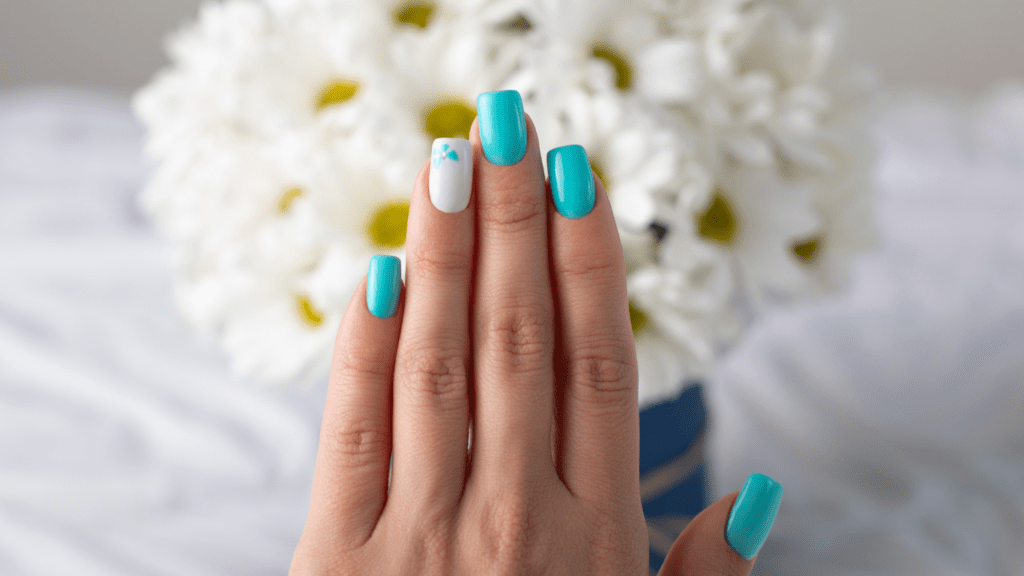
Accent Nails
Accent nails are a great way to add detail without drawing too much attention. Choose one or two nails on each hand to decorate differently from the rest. Paint the accent nails with glitter, a contrasting color, or a simple design like polka dots or stripes. For example, I enjoy pairing a nude manicure with gold glitter accent nails for an elegant touch.
Step-by-Step Tutorials

Below are easy step-by-step tutorials for beginners to follow. They’ll make creating beautiful nail art simple and fun.
French Manicure
Creating a French manicure adds a classic touch. Start by cleaning and trimming nails to the desired length. Apply a clear base coat to protect nails. Once dry, take a white nail polish, and with a steady hand, paint the tips of the nails. Use French manicure guides if precision is challenging. After the tips are dry, apply a sheer pink or nude polish over the entire nail. Finish with a top coat to seal and add shine.
Ombre Nails
Ombre nails showcase a gradient effect. Begin with a base coat to protect nails. Choose two to three coordinating nail polish colors. Paint the lightest color as the base.
After drying, apply the darker shades onto a makeup sponge in the order of the gradient. Dab the sponge onto the nails, gently rolling to blend the colors. Repeat until achieving the desired look. Clean up excess polish around the nails with a brush dipped in acetone. Seal with a top coat for a smooth finish.
Glitter Gradient
A glitter gradient is perfect for a sparkly yet casual look. Start with clean, shaped nails and a base coat. Apply your base color; a lighter shade often works best. Allow it to dry. Take a glitter polish and apply it starting at the tips, moving down towards the middle of the nails with less pressure to create a fading effect. Layer if needed for more glitter concentration. Once satisfied with the gradient, use a top coat to smooth and add shine.
These tutorials help beginners master popular nail art designs with minimal tools and effort.
Tips for Success
Achieving beautiful nail art requires a blend of creativity, practice, and proper technique. Here’s how to ensure your nail art journey is successful.
Nail Care
Proper nail care sets the foundation for any nail design. Soaking nails in warm water for 5-10 minutes softens cuticles. Gently pushing back cuticles with a cuticle pusher keeps the nail bed clean.
Trimming nails with clippers, then shaping them with a file creates a smooth canvas. Moisturizing nails and cuticles with oil or lotion prevents dryness that could affect the polish application. Applying a base coat protects nails from staining while ensuring longer-lasting designs.
Common Mistakes to Avoid
Avoiding common mistakes can significantly enhance your nail art results. Leaving excess polish on brushes leads to messy application, so wiping the brush against the bottle’s edge before use helps.
Applying thick layers causes bubbling, so using thin, even coats is best. Not allowing each layer to dry completely results in smudging, so waiting a couple of minutes between each coat ensures a flawless finish. Skipping the top coat reduces the lifespan of your design, so capping your artwork with a top coat seals and protects your efforts.
 Bonnie Brown is an expert in holistic wellness with over a decade of experience in natural health and skincare. She has dedicated her career to helping individuals achieve radiant health through plant-based solutions and mindful self-care practices. Bonnie is passionate about blending ancient traditions with modern wellness techniques, making her insights a valuable resource for anyone on a journey to healthier skin and overall well-being.