Understanding the Importance of Regular Hair Trims
Regular hair trims play a crucial role in maintaining the health and appearance of hair.
Benefits for Hair Health
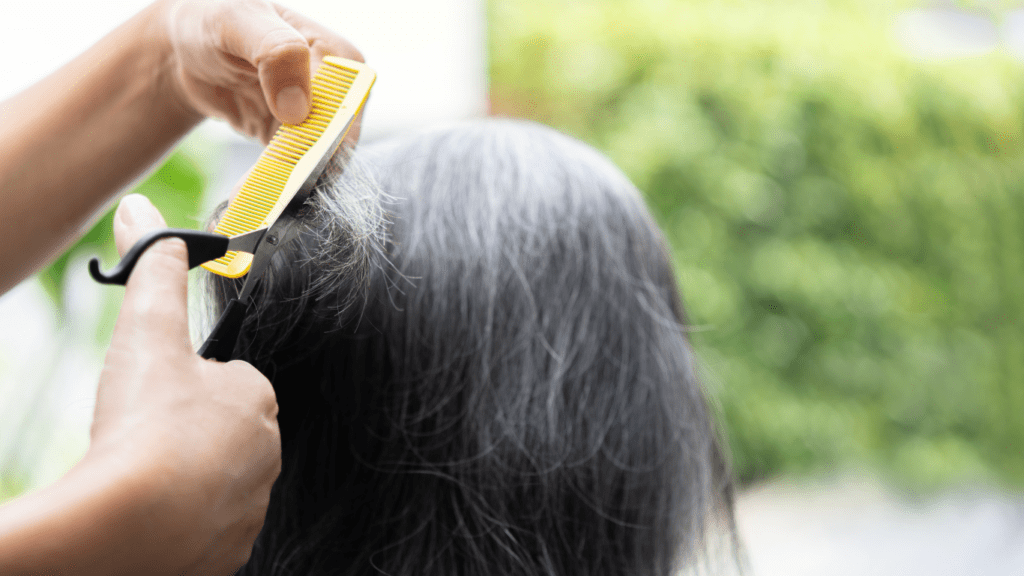
Trims contribute significantly to hair health. By cutting off damaged or unhealthy ends, I’ve found that my hair looks shinier and feels smoother. This process helps remove any split ends or breakage, allowing my hair to retain moisture and essential nutrients better.
Prevention of Split Ends
Split ends are a common hair concern. Regular trims prevent split ends from traveling up the hair shaft. When I trim my hair consistently, I notice fewer split ends and less damage overall. This proactive approach keeps my hair looking neat and healthy.
Enhancing Hair Growth
Although trimming doesn’t lead to faster hair growth, it supports healthier growth. Removing damaged ends makes hair less prone to breakage. In my experience, regular trims lead to visibly fuller and longer hair over time.
How Often Should You Trim Your Hair?

Trim your hair every 6-8 weeks for optimal health if it’s short or medium-length. This frequency helps maintain the shape and prevent split ends. Longer hair typically benefits from trims every 8-12 weeks due to less frequent damage.
Consider trimming every 4-6 weeks to maintain style precision if you have a layered haircut. This reduces the risk of layers looking uneven or messy. Curly hair may require trims every 10-12 weeks since it’s more prone to dryness and split ends are harder to detect.
Fine hair tends to split easily, needing trims every 6 weeks to keep it healthy. Coarse or thick hair can follow the 8-12 week schedule due to its resilience, although individual conditions like damage or styling frequency may adjust this.
Track trimming schedules by noting the last trim date and setting reminders for the next session. Adjust the frequency based on your hair’s unique response to trimming and specific needs.
Tools Needed for a DIY Hair Trim
Trimming hair at home requires the right tools to achieve professional results. Proper tools ensure precise cuts and maintain hair health.
Essential Tools
- Hair Shears: Professional hair shears are crucial for a clean, even cut. Regular scissors can cause jagged edges leading to split ends. Invest in a good pair for best results.
- Comb: A fine-toothed comb helps section hair accurately. It ensures even distribution and alignment, key for precise trimming.
- Hair Clips: Sectioning clips are necessary to hold hair in place during trimming. They help manage smaller sections, making the process smoother and more organized.
- Mirror: A large, well-lit mirror is essential to see your work clearly. It helps maintain accuracy and prevents uneven cuts.
- Spray Bottle: Keeping hair slightly damp ensures a cleaner cut. Use a spray bottle to lightly mist hair before trimming.
Optional Extras
- Cape or Towel: A haircutting cape or towel around your shoulders keeps hair off your clothes. It makes cleanup easier by catching stray hairs.
- Sectioning Hair Clips: Extra clips may be useful for managing thick or long hair. They help in handling multiple sections and prevent mixing.
- Hair Cutting Kit: Some kits include shears, combs, and clips, offering convenience. It ensures you have everything needed in one package.
- Hair Dusting Brush: A small, soft brush removes loose hair from your neck and shoulders. It keeps the area clean and prevents irritation.
Using these tools ensures a safe, effective DIY hair trim, promoting hair health and professional-looking results.
Step-by-Step Guide for Trimming Your Hair at Home
Mastering a DIY hair trim is both empowering and budget-friendly. By following these steps, you can achieve salon-quality results at home.
Preparation
Gather tools: hair shears, comb, clips, mirrors, and a spray bottle. Start with clean, dry, and detangled hair. If needed, use a spray bottle to lightly dampen your hair for easier handling. Stand in front of a large mirror, ideally with another mirror behind to view the back of your head. Ensure the area is well-lit.
Sectioning Your Hair
Divide hair into manageable sections. Use clips to separate into four parts: two at the front and two at the back. Smaller sections result in a more precise trim. Clip each section up, leaving one section down to work on first. Use a fine-toothed comb to ensure even parting.
Trimming Techniques
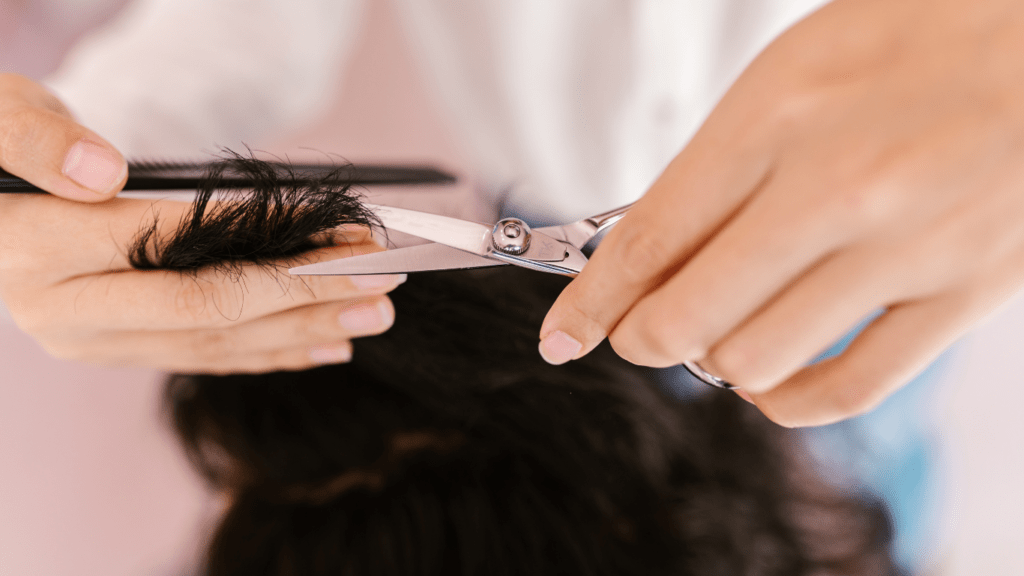
Comb the section straight down, keeping it taut with your fingers. Decide on the length to trim, typically 1/4-inch to remove split ends. Use sharp hair shears to cut straight across. Avoid regular scissors, as they can cause more split ends. Repeat for all sections. For layers, elevate hair and cut vertically to blend lengths smoothly.
Post-Trim Care
Clean the area to remove hair clippings. Wash and condition your hair to eliminate any loose trimmings, and apply a leave-in conditioner for extra moisture. Regular trims maintain hair health and prevent split ends. Use nourishing products to keep your newly trimmed hair sleek.
Common Mistakes to Avoid
Skipping Preparation
Preparation makes a significant difference. Many skip it and run into issues. Wet your hair, use detangling sprays, and have sharp shears to achieve clean, precise cuts.
Using Dull Tools
Dull tools create jagged edges, leading to split ends. Invest in professional-grade shears. Avoid regular scissors, as they’re not designed for hair.
Improper Sectioning
Proper sectioning ensures consistent results. Failing to section hair evenly results in uneven cuts. Use clips to divide hair into manageable parts.
Cutting Too Much
Cut small amounts. Cutting too much hair in one go can lead to uneven lengths and regrets. Trim about a quarter-inch to half-inch.
Neglecting Hair Type
Different hair types need different techniques. Ignoring hair texture and density can cause poor results. For instance, curly hair requires dry cutting to understand its true length.
Ignoring Guidelines
Follow specific guidelines for DIY trims. Straying from the steps can lead to mistakes and damage. Stick to the recommended methods and adjust based on your comfort level.
Rushing the Process
Haste can lead to errors. Take your time. Slow and precise cutting ensures better results and reduces the risk of uneven sections and cuts.


 Bonnie Brown is an expert in holistic wellness with over a decade of experience in natural health and skincare. She has dedicated her career to helping individuals achieve radiant health through plant-based solutions and mindful self-care practices. Bonnie is passionate about blending ancient traditions with modern wellness techniques, making her insights a valuable resource for anyone on a journey to healthier skin and overall well-being.
