Start with the Basics
Before you touch a bottle of polish, stock yourself with only what matters. You don’t need a full salon setup just the essentials. Start with a good nail file, a buffer, cuticle pusher, base coat, top coat, a couple of your favorite polish colors, and basic cleanup tools (like a flat brush and some acetone). That’s your core kit. Optional extras like dotting tools, striping tape, or nail stickers can come later once you’re comfortable with the basics.
Nail prep isn’t a step to skip. File and shape your nails first; go one direction with the file, not back and forth. Buff the surface lightly enough to smooth, not strip. Wash your hands, push back cuticles (no cutting), and dry thoroughly. Now, apply a thin base coat. It helps polish go on smoother and stay put longer.
Pro tip: Keep your cleanup tools within reach from the beginning. If you get polish on your skin (and you will), it’s easier to fix it right away while it’s still wet. Having that brush soaked and ready saves you heartache later.
Dot Game: Your First Easy Win
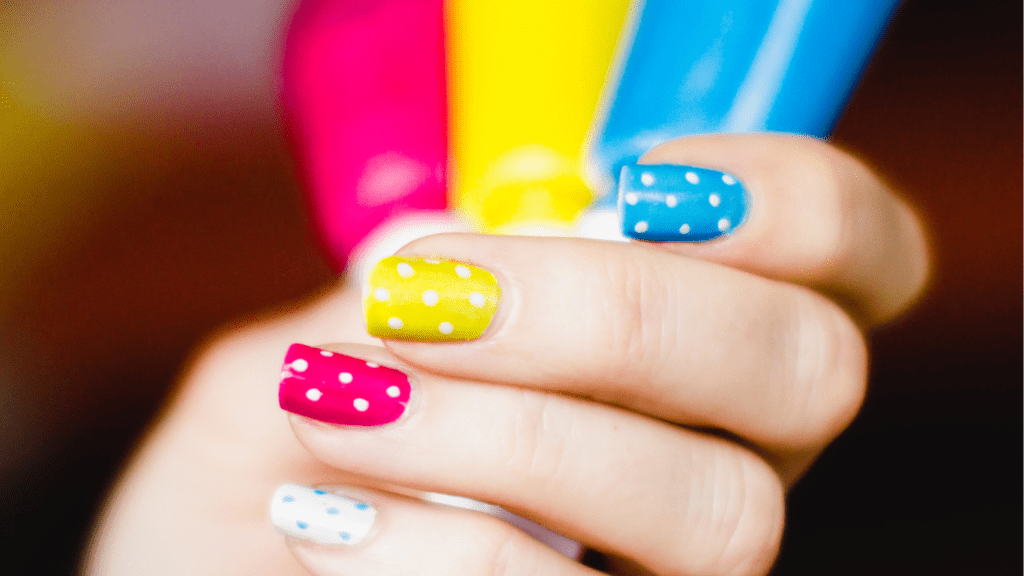
Grab a toothpick, bobby pin, or a dotting tool if you’ve got one. Pick two nail polish colors one for your base, and one for the dots. That’s it. No fancy gear required.
Start with your base coat. Let it dry completely (seriously, don’t rush this). Then dip your tool into the second polish and gently dot it onto your nails. Space them out or keep them tight, your choice. You can keep it simple with classic polka dots or switch it up with flowers (dot in a circle, add a center) or hearts (two dots + a drag = done).
It’s foolproof, fun, and it looks way more impressive than it is. Best part? Mess ups are fixable. Nail polish remover and a steady hand go a long way.
More easy nail designs
Tape & Lines: Simple but Clean
This one’s all about straight lines and sharp edges no artistic skills needed. Grab some striping tape or cut regular tape into skinny strips. The key here is patience and dry time.
Start with your base polish. Let it dry completely. And yes, we mean completely, or the tape will wreck it. Once dry, apply your tape lines vertical, diagonal, criss cross whatever look you’re going for. Then paint a second color over the whole nail or just over the taped section. Right after that, peel the tape off while the top layer is still wet.
Styles to try? Go for bold color blocks if you’re feeling loud, or minimalist single line accents for something subtle. Angled tips are also a great starter move that looks way more advanced than it is.
Sponge Gradient: Looks Hard, Isn’t
You don’t need salon level skills to pull off a smooth gradient. Grab a cheap makeup sponge and two nail polish colors ideally ones that blend nicely together. Think pink to coral, blue to lavender, or a mellow pastel fade.
Here’s how: Paint a stripe of each color directly onto the sponge so they touch and slightly overlap. Then dab the sponge lightly onto your nail, rolling a bit as you go for a blended look. You might need a second or third layer to get the effect to pop.
Once you’re happy with the gradient, clean up around the nail with a brush and nail polish remover. Finish it off with a top coat to smooth things out and lock it in. Boom blended nails without the drama.
Accent Nail Magic
When you’re short on time (or patience), accent nails are your secret weapon. By focusing your creativity on just one nail per hand usually the ring finger or thumb you can still make a statement without spending hours on every detail.
Why It Works
Saves time while still adding interest
Draws attention to a single focal point
Easy to coordinate with a solid color on other nails
Simple Accent Nail Ideas
Dot Combo: Use a contrasting polish to create dots on one nail, paired with solid nails on the rest.
Gradient Fade: Apply a sponge gradient to just one nail for a pop of color.
Glitter Touch: Add glitter polish or a metallic detail to one nail only.
Quick Tips
Choose your standout nail before starting to plan your design.
Use complementary colors to tie the accent in with the rest of your nails.
Keep your tools and polish nearby to make the process efficient and mess free.
Accent nails are perfect for beginners they offer the creative satisfaction of nail art without the commitment of a full set.
Keep It Neat
Clean lines make all the difference. Even the simplest design looks more polished when the edges are sharp, not messy. Use a flat brush dipped in nail polish remover to clean up any smudges around your cuticles don’t skip this step.
After your design is done and dry, swipe on a top coat. It locks in the look, adds gloss, and helps your art last longer. Bonus: it can even out minor bumps or brushstrokes.
One more thing patience. Let each layer dry fully before moving on. Smudges usually happen because we’re in a rush. So take your time. Better results, less frustration.
Level Up When You’re Ready
Once you’ve got the basics down, it’s time to have fun. Try using nail stamps for detailed designs without the steady hand. Glitters and nail stickers are also easy ways to add impact without complex steps. They look bold but are seriously beginner friendly.
Play with textures too. Mix a matte top coat on certain nails and leave others glossy that contrast makes even simple colors look intentional.
The big thing here? Don’t be afraid to test stuff out. Some ideas won’t work cool. Wipe and try again. That’s how your personal style shows up.
Try more easy nail designs here